Product Description
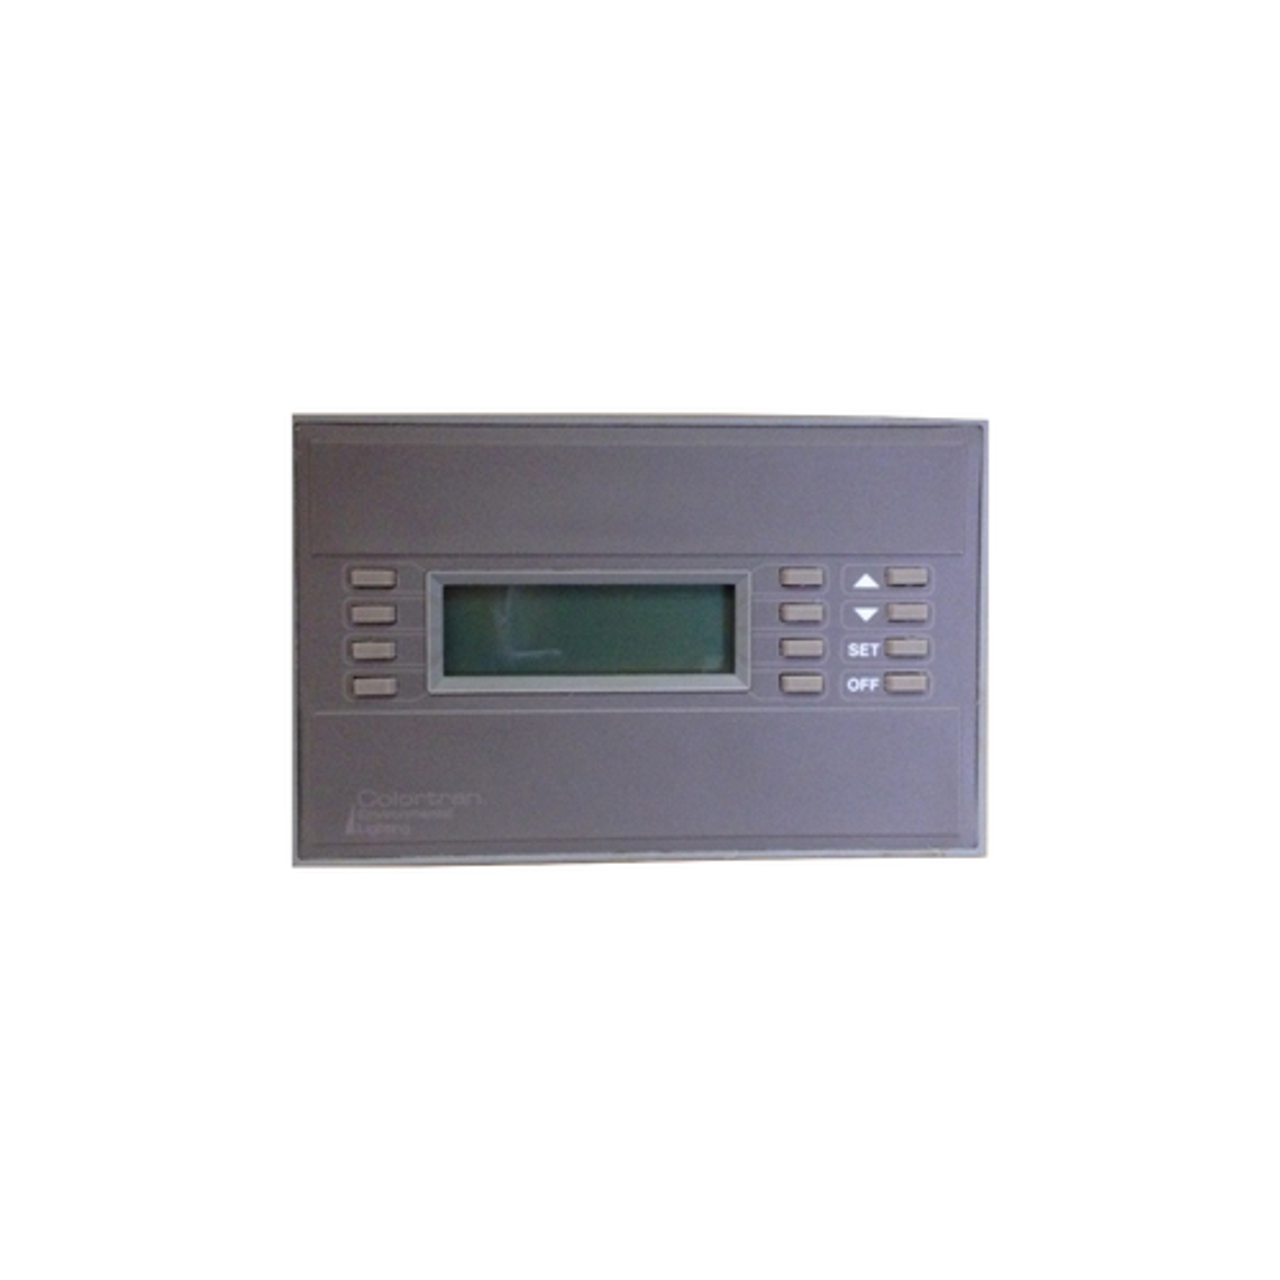
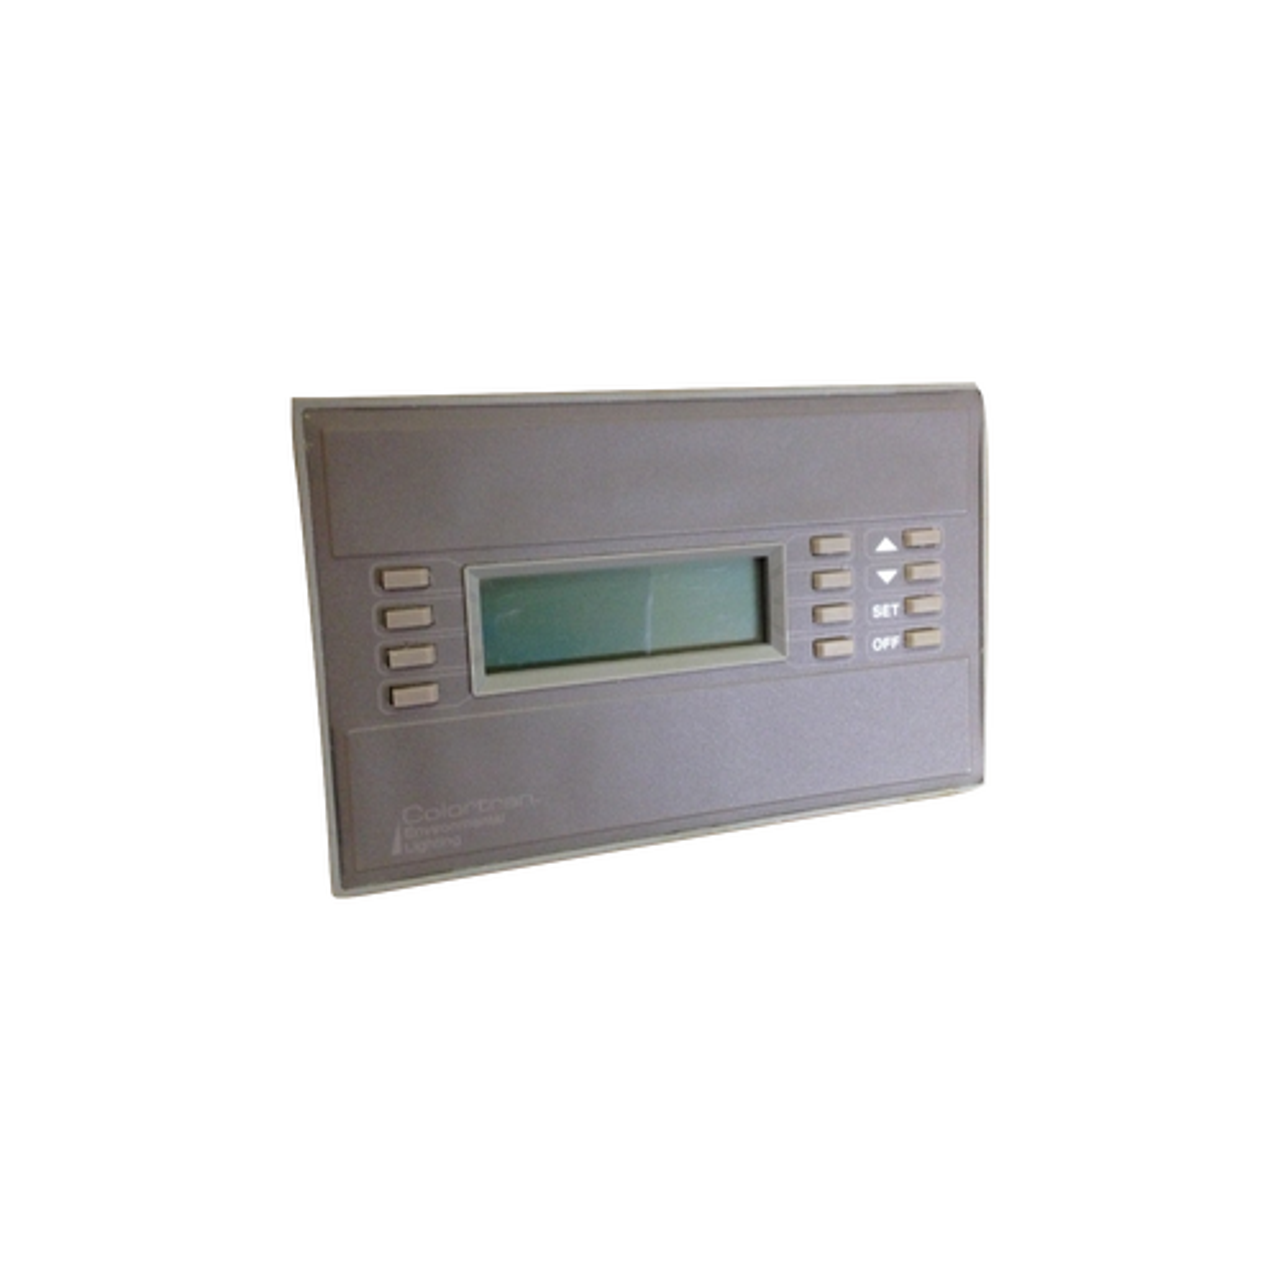
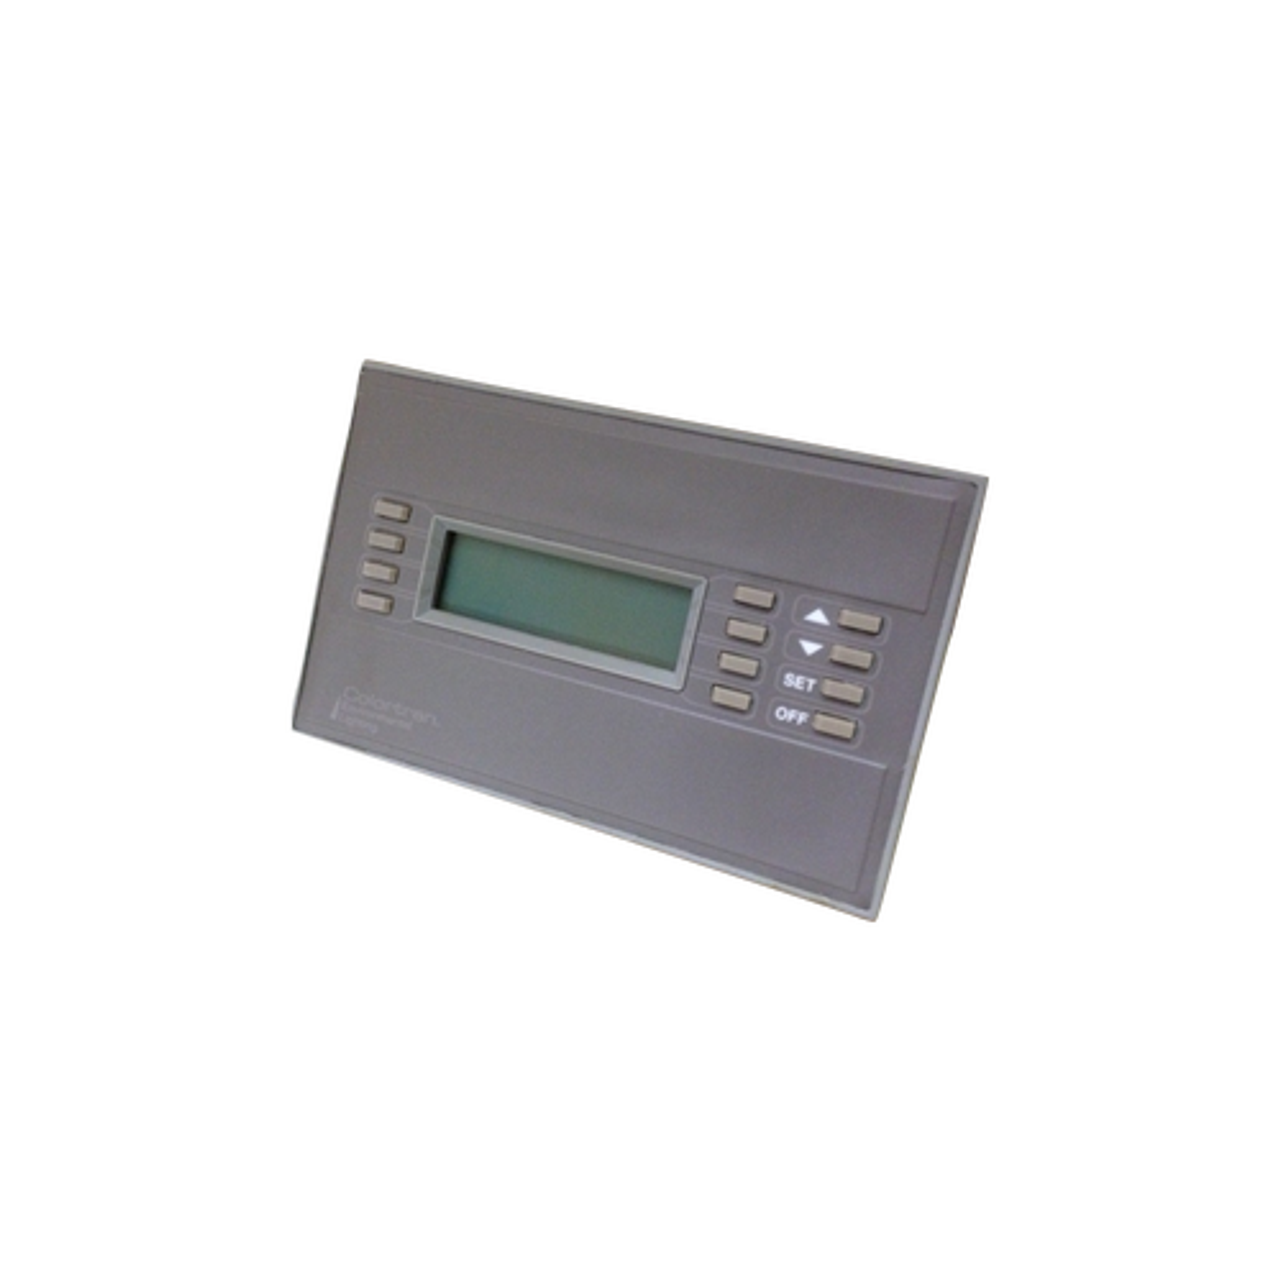
Colortran Viewpoint LCD control station with a new LCD screen, repair.
This repair DOES include replacement of the LCD screen.
NOTE! You MUST ship us your bad unit FIRST! We will repair and return YOUR UNIT back to you!
- Ship us your bad/non-working Colortran Viewpoint LCD control station and then we will ship you a refurbished one.
- We are a factory authorized Leviton Colortran service agency.
- Please note that these stations are no longer manufactured so repair is the best option for keeping your dimming system up and going.
- The Colortran Viewpoint LCD control station has 12-buttons with a LCD screen
- These stations commonly work with Colortran Viewpoint ENR and Colortran I series e Leviton dimming systems.
- Please note that we only have these control stations availabe in the COLOR OF GRAY.
Here is the process for getting your Colortran Viewpoint LCD control station refurbished. You can always call us at 1-866-457-5937 and we will walk you through this process over the phone:
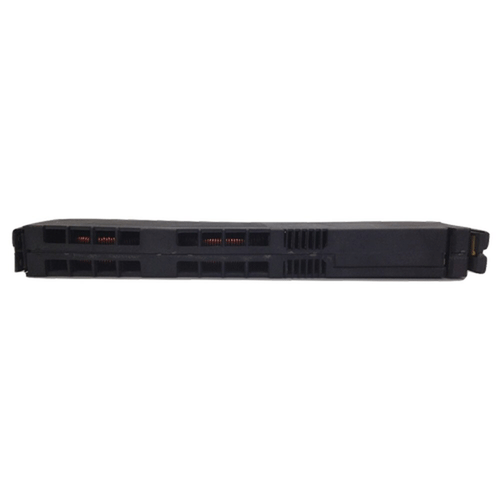
- 1. Please disconnect the station by peeling the front grey cover and then loosening the four screws from the wall box. The back of the station will have two connectors that will need to be unplugged. Please note this will not harm the systems operation while having the station disconnected for a period of time. **Please MAKE NOTE OF YOUR DIP-SWITCH POSITIONS before mailing! We will try to return them in the same position, but they may be moved during testing and refurbishment! Taking a photo is recommended!**
- 2. Please ship the station to:
- 3. Once we receive the station we will refurbish the unit, which includes inspecting, cleaning, and replacing components on the station. This will take 2-3 business days. The refurbishment cost includes the price of shipping back to you.
- 4. Once you receive the refurbished station back from us, please plug the two connectors back into the station (please note they only fit in one way). Then, you should tighten the four screws that secure the station back into the wall box.
- 5. Please peel the new sticker cover and place it on the front of the station. Firmly press until it is secured. Please note that the top and bottom of the sticker overlay has three grooves that fit into the station. This makes for an even look.
- 6. Once that is all done press any of the preset buttons and station should be working just like new!

