Product Description
Audix DP7 Best-Selling 7-Piece Drum Microphone Package
The DP7 professional drum microphone pack represents an outstanding combination of seven microphones designed to meet the demands of today’s professional drummer, both on the stage and in the studio.
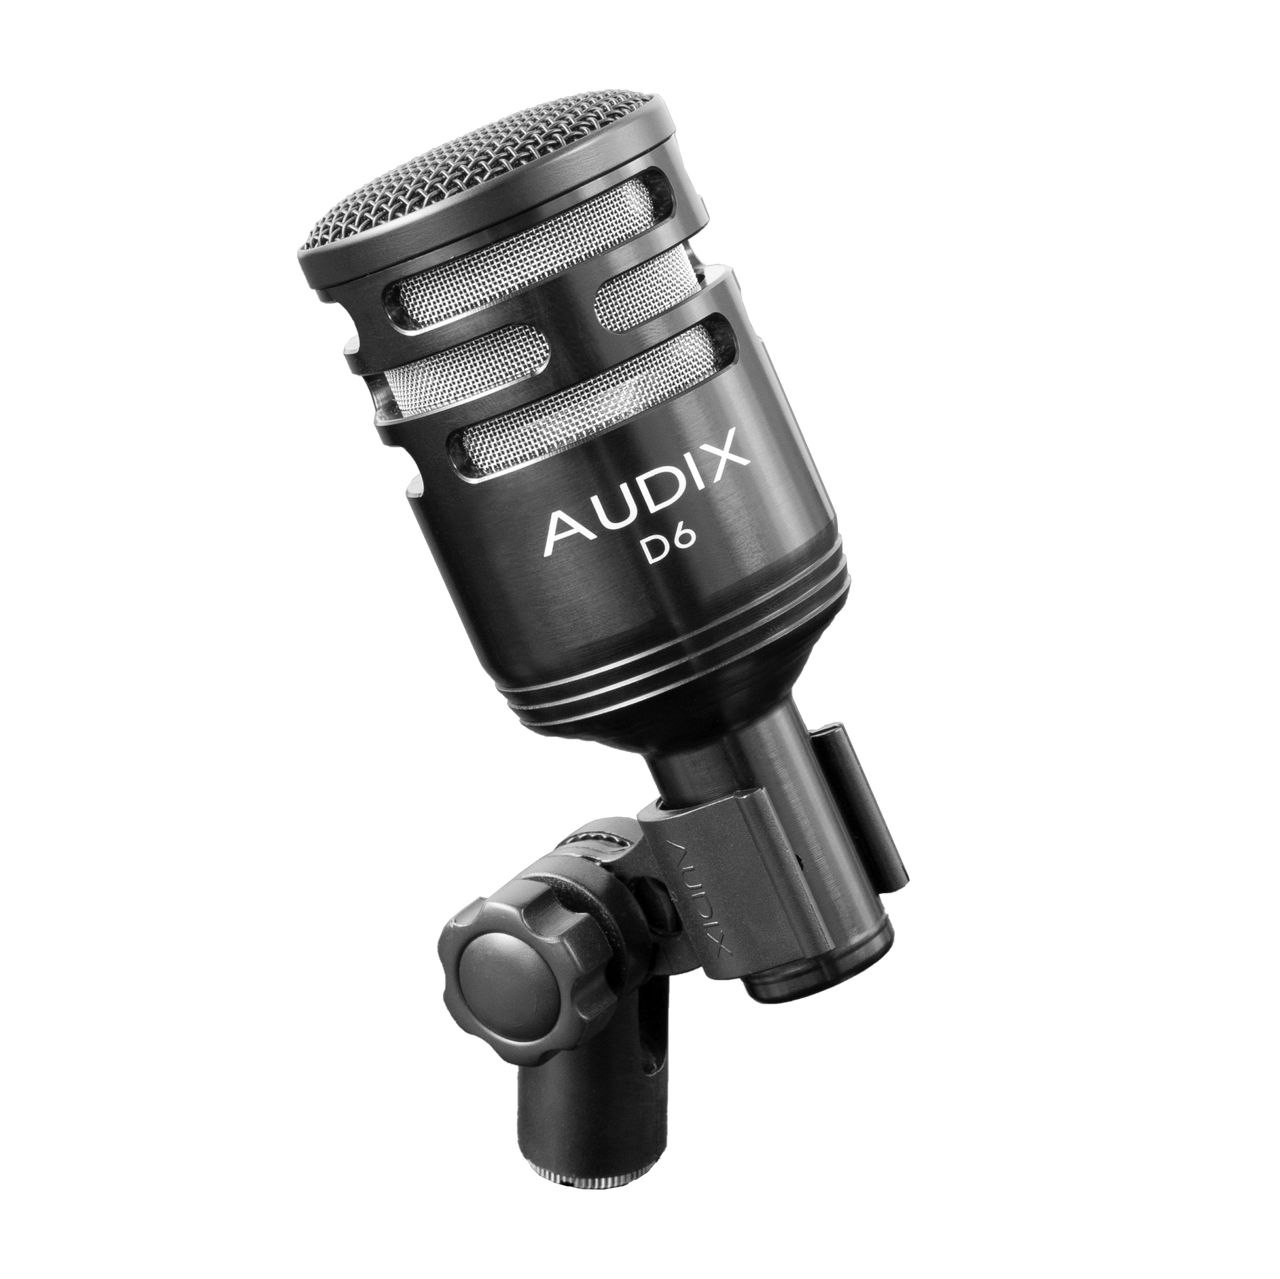
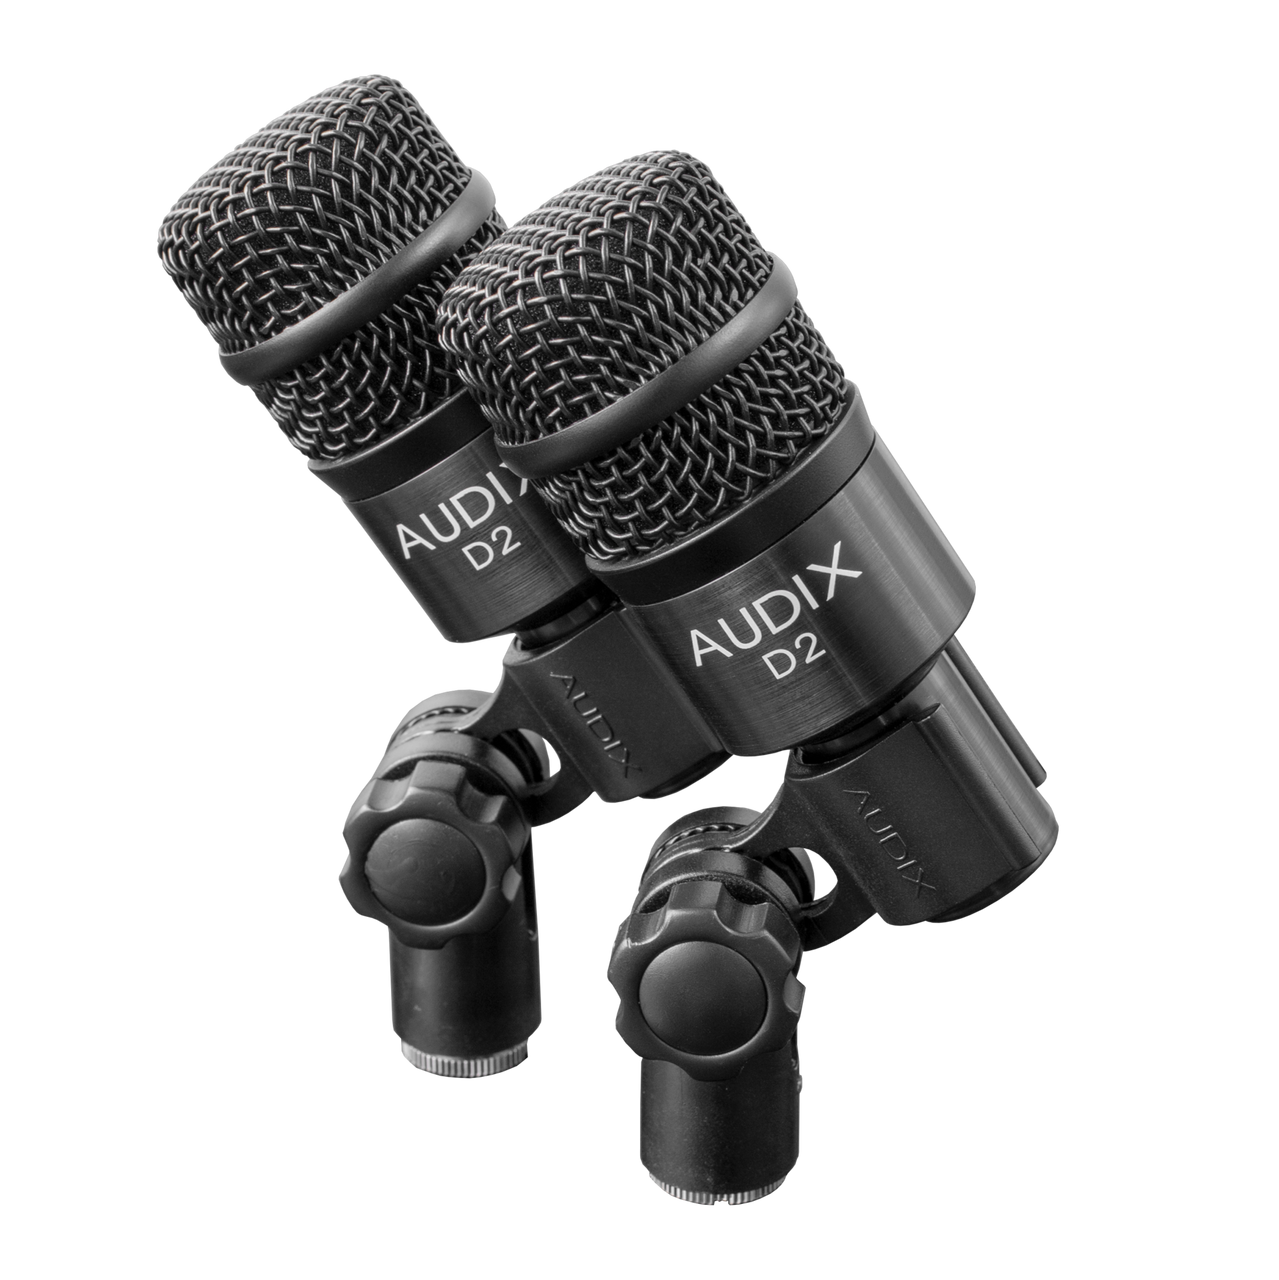
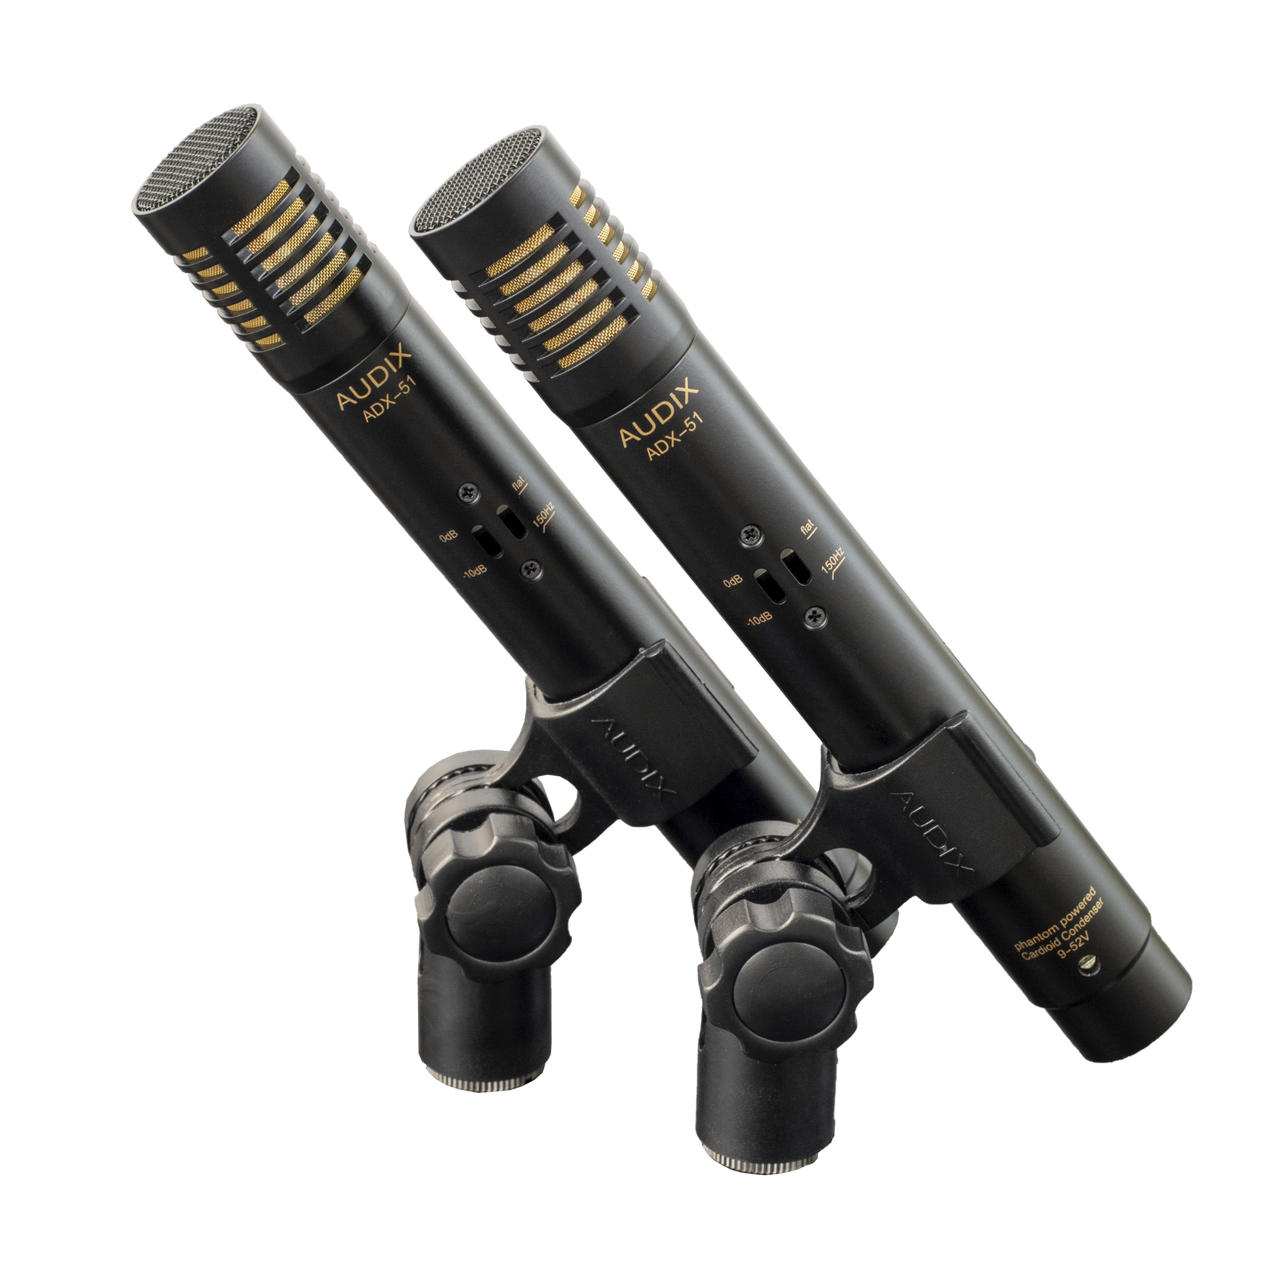
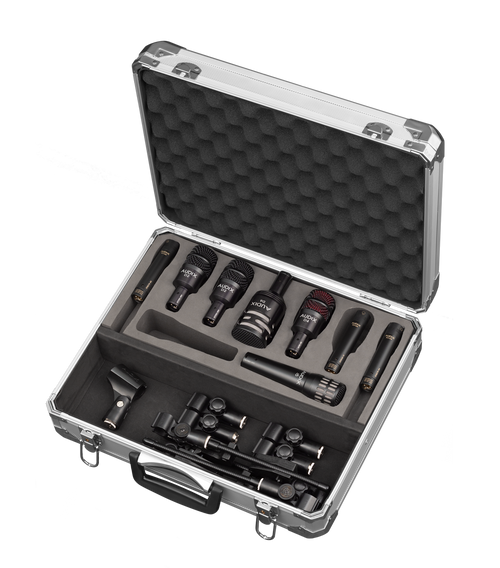
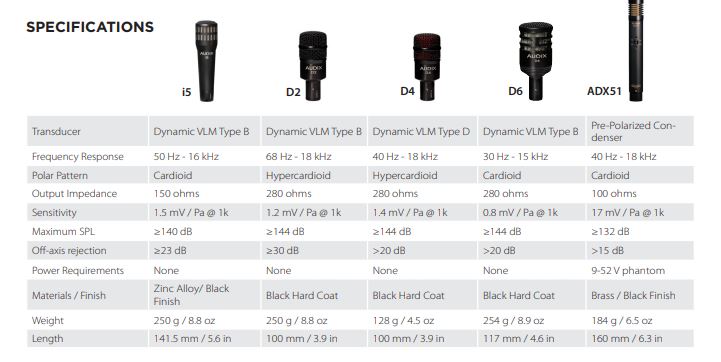
Included in the DP7 drum microphone package is the D6, Audix’s flagship kick drum microphone, two – D2 dynamic drum microphones for rack toms, one D4 for floor tom, the i5 for snare, and a pair of ADX51 studio condenser microphones for overhead miking. Also included are four D-Vice rim mount clips for the snare and tom microphones, and three heavy-duty tension fit microphone clips for the other three microphones. Everything is conveniently packaged in a foam-lined aluminum road case for safekeeping when the microphones are not in use.
WHAT'S IN THE BOX
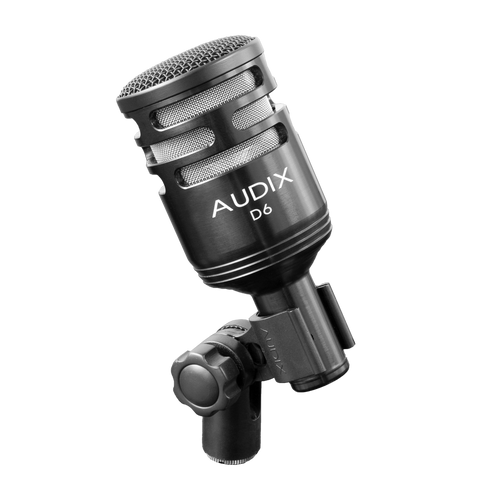
1x D6 Kick Drum Microphone
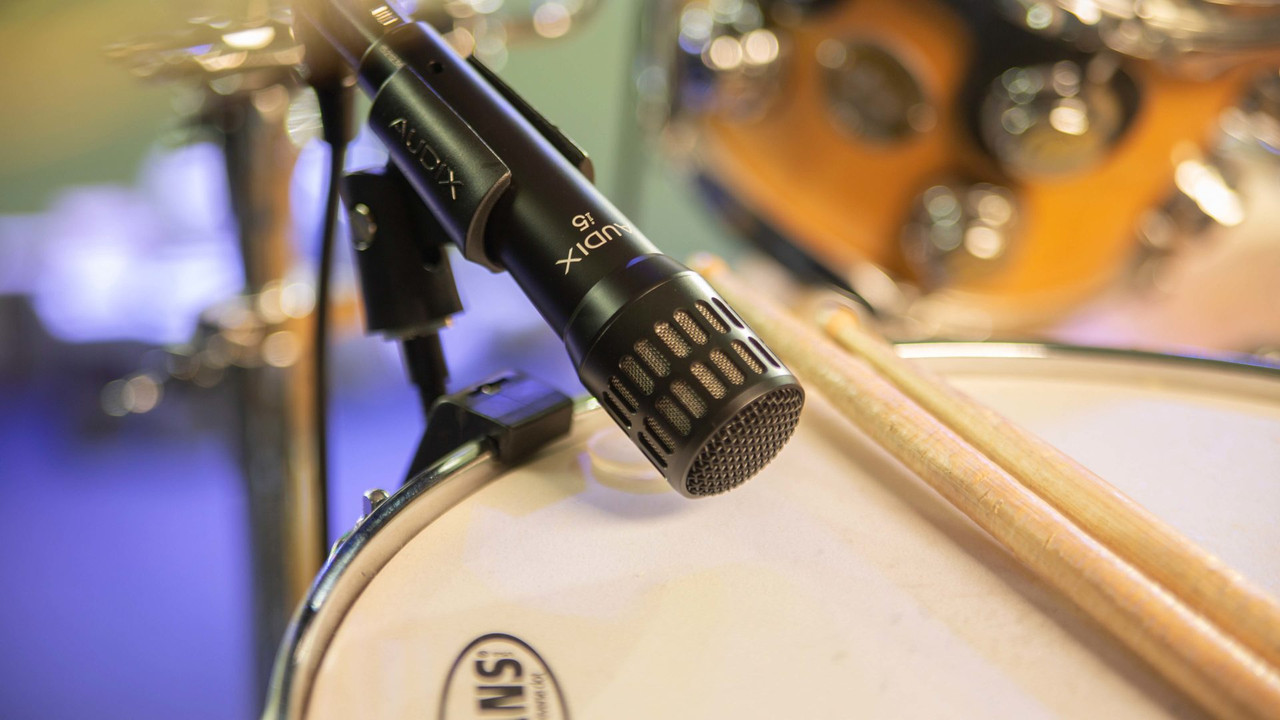
1x i5 Snare Drum Microphone
2x D2 Rack Tom Microphones
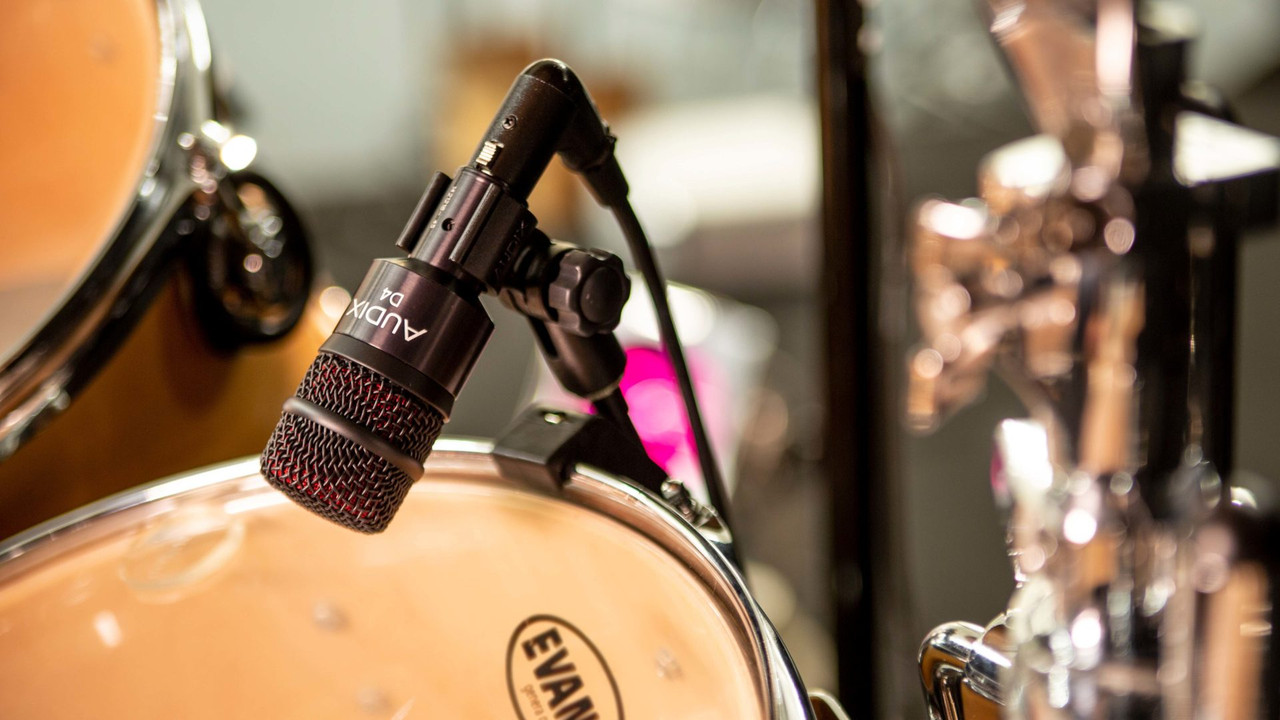
1x D4 Floor Tom Microphone
2x ADX51 Overhead Microphones
4x DVICE Rim Mounts
3x DCLIP Microphone Clips
1x MC1 Microphone Clip
2x WS81C Windscreens
1x Aluminum Road Case
LIVE SOUND OR RECORDING Whether on stage or in the studio, the DP7 drum pack is the ideal collection of seven microphones for the standard five piece drum kit. Audix VLMTM dynamic mics manage the transients of the drums at close range while the condensers capture the cymbals and a stereo image of the entire kit from overhead. This award-winning combination of microphones, clips and mounting accessories is packaged securely within a rugged aluminum carrying case. · Professional set of 7 drum mics for stage or studio · ADX51 condensers for overheads add spacial dimension · Recognized industry-wide for exceptional performance and consistency
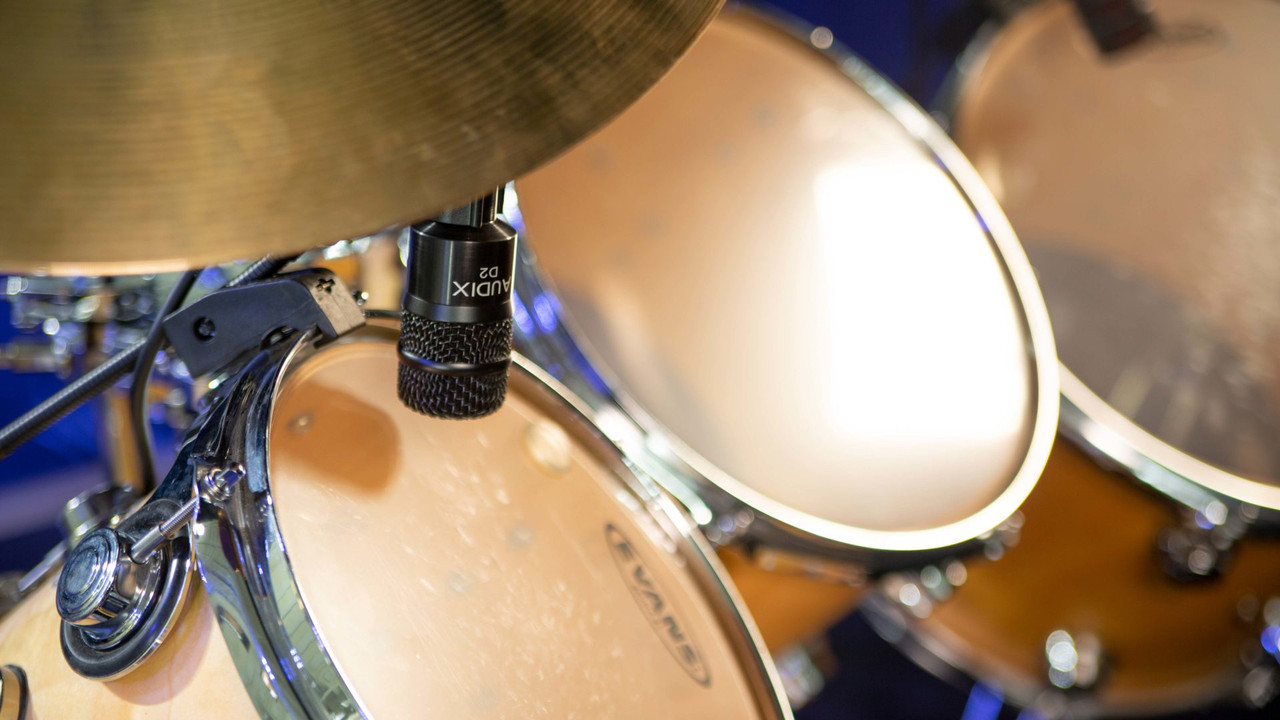
CLOSE MIKING The D6 for kick drum and the i5 for snare are must-haves for every drummer. The kick and snare are considered the core of any drum kit and the foundation for every groove. Close miking insures that they will be captured in the mix. If either the kick or the snare is unable to be heard, there is simply no groove. The D2 and D4 are industry standards for toms and floor toms. Being high SPL dynamic microphones, the D6, i5, D2 and D4 excel at “close miking”. This miking technique is required in order to capture the attack and percussive sound of the drum. By having the mic close to the source of the sound, it helps to isolate and control the sound of each drum.
OVERHEAD MIKING (ambient) Supporting the idea that “less is more”, many engineers will use just two overhead mics to capture the natural sound of the complete drum kit. With two overhead mics, positioned correctly, it is absolutely true that you can capture the transients, tonality and balance of the kit in a completely phase-coherent manner. The ADX51, a pre-polarized condenser microphone with a 14mm gold sputtered diaphragm, is designed with overhead applications in mind. Due to its cardioid pickup pattern, high sensitivity and slim pencil design, the two ADX51 mics can be easily positioned overhead to provide a nice stereo image of the entire drum kit.
THE BLEND With contemporary music and the volumes typically generated on stage, it is more practical and effective to create a blended effect of close miking and a stereo image of the entire kit from overhead. The D6 will help provide the earthshaking lows and the attack of the kick; the i5 will reinforce the depth and crack of the snare; the D2 and D4 will pick up the attack and overtones of the toms, and the ADX51 overheads will pick up the hi-hat, cymbals and the ambience of the entire kit. With the DP7, drums will maintain their sound integrity and critical presence, regardless of the size of the room and PA system.
SUPPLIED ACCESSORIES DVICE - Spring loaded rim mount clamp MC1 - Nylon mic clip DCLIP - Heavy duty mic clip provided with D Series WS81C - Foam windscreen for reducing wind, sibilance and pop noise
OPTIONAL ACCESSORIES DFLEX - All purpose percussion clamp DCLAMP - Tension rod mic clamp STANDKD - Adjustable kick drum mic stand with telescopic boom CBL20 - 20’ XLR-XLR mic cable CBLDR25 - 25’ right angle XLR-XLR mic cable

USER TIPS This package is identical to the DP5A with the addition of two ADX51 condensers for overhead miking. With the addition of the overhead mics, you now have the opportunity to create more depth of field and more presence within the mix. You have the choice of using both ADX51s for overheads or one for hi-hat and one for overhead.
ADX51 - As overheads: The most common positioning concept is to keep the snare as the focal point and move the mics into various left and right positions equal distance from the snare; 4 feet is a good starting point. For best results, keep the mics in a vertical position, keeping in mind that you are not necessarily just miking the cymbals but the whole kit. You will find after some experimentation that the kick, snare, and overheads will provide most of your sound while the tom mics are used for sweetening.
ADX51 - One for hi-hat, one for overhead: The ADX51 for high hat should be placed 2-3 inches above the top cymbal and towards the outside edge. The overhead mic can be placed overhead above the cymbals, generally above the rack toms. In the case where there are more cymbals on one side of the kit than the other, the mic can favor the side with the most cymbals.
i5 - Snare: A good starting point is 2 inches above the rim with the mic pointing towards the center of the head. For more “rim” sound, pull the mic closer to the rim. For more resonance and depth of field, pull the mic farther away from the head. The trick is to find the right balance between resonance and attack while still controlling bleed from the other drums.
D2 / D4 - Floor Toms: Place the mic about 2 inches above the head and point the mic across the head towards the center of the drum. This is the best position to capture the fundamental resonance and decay of the drum will minimal ring. Note that you will need the DCLAMP or DFLEX mounts in order to attach the mics to hand percussion instruments or non-conventional rims.
D6 - Kick Drum: To position the D6, a good starting point is a few inches inside the port of the front head with the mic pointing off-center and not directly at the beater. For more attack, move the mic closer towards the beater. For more bass, pull the mic farther away from the beater.
For more information please visit www.audixusa.com to view our six part video on “How to Mic Your Kit.”


